How to Activate Your Yealink Phone in 3 Simple Steps
You unboxed your Yealink phone, plugged it in, picked up the handset — and nothing. No dial tone. The screen is on, the phone appears to boot up fine, but you can’t make a call. This is normal. Yealink phones are IP phones (VoIP), not traditional landlines. They need to be connected to a phone service before they’ll work — the same way a smartphone needs a carrier plan before it can make calls. Here’s how to fix it in three steps.
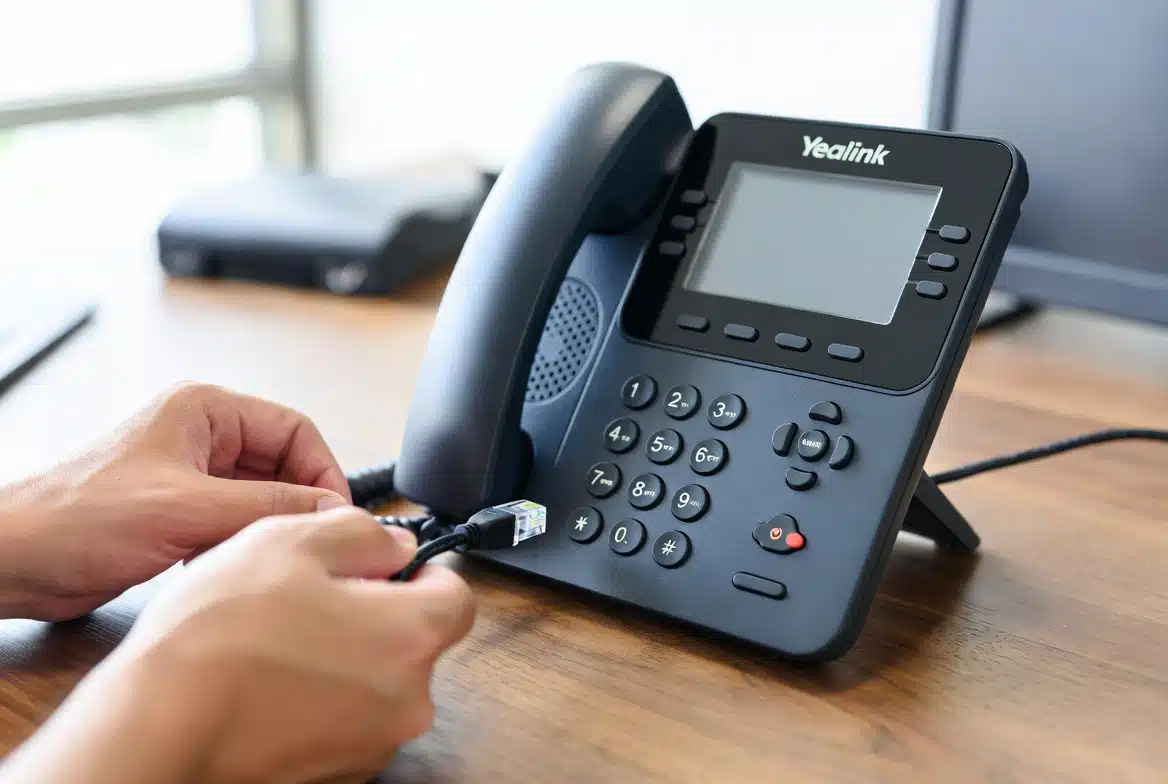
Connect the Hardware
If you haven’t already, get the phone physically connected. Yealink phones are straightforward to assemble — attach the desk stand to the back of the phone body, plug the coiled handset cord into the handset and the handset port on the phone, and connect the phone to your network.
Power options:
Power over Ethernet (PoE) — recommended: If your network switch supports PoE, a single Ethernet cable from the phone’s LAN port to the switch delivers both internet and power. This is the cleanest setup with no extra cables.
AC adapter: If your switch isn’t PoE-capable, plug the Yealink AC power adapter (sold separately if not included) into the phone’s power port and a wall outlet, then run an Ethernet cable from the phone’s LAN port to your router or switch.
Most Yealink models also support Wi-Fi via a built-in radio (W-series phones) or a USB Wi-Fi dongle for other models. For initial setup, wired Ethernet is strongly recommended — it eliminates connectivity variables if you’re troubleshooting.
Once connected, the phone will boot up and display the Yealink home screen. It will automatically request an IP address from your network via DHCP. At this point the screen will typically show “Initializing” then either an idle home screen or a “No Service” / “Unregistered” message. That’s expected — the phone is connected to your network but not yet connected to a phone service.
Connect to a Phone Service (VoIP)
This is the step that makes the phone actually work. A Yealink IP phone needs to be registered to a VoIP service — a cloud-hosted phone system or SIP trunk — before it can make or receive calls. Without this, it will boot up and show a home screen but have no active line.
There are two ways this happens:
Auto-provisioning (the easy way): If you’re activating through Phonewire, we provision the phone remotely. We load your extension credentials and configuration onto the phone automatically over your internet connection — you don’t enter anything manually. The phone checks in with our provisioning server at boot, receives its configuration, and registers. This typically takes a few minutes after the phone connects to your network. You’ll see “Registered” or a green line indicator appear on the screen when it’s complete.
Manual SIP registration: If you’re configuring the phone yourself against a SIP provider, open a browser, navigate to the phone’s IP address to access its web interface, log in (default credentials are Admin / Admin on most Yealink models), and enter your SIP account credentials under Account → Register. You’ll need your SIP server address, username, and password from your VoIP provider.
If you bought your Yealink phones without a service plan and need activation, Phonewire activates Yealink phones on our VoIP platform — cloud-hosted or on-premises. We port your existing business number over so you keep it, configure every extension, and the phone works when you pick it up. Call (800) 857-1517 or request a quote online with the number of phones you need activated.
Test and Verify
Once the phone shows “Registered” or a line indicator is active, pick up the handset and make a test call. Dial a cell phone or a colleague. You should hear audio both ways immediately — Yealink’s HD audio codec means call quality is noticeably better than most traditional desk phones.
Also test inbound: have someone call your business number and confirm the Yealink rings and you can answer. If both directions work, the phone is fully active.
A few optional finishing touches:
Set your voicemail PIN if your provider requires one (most VoIP systems prompt you on first access). Check the date and time display — most VoIP services sync this automatically via NTP, but you can set it manually under Menu → Settings → Basic if needed. If you have multiple phones and want to see each extension’s availability at a glance, BLF (Busy Lamp Field) keys can be programmed to show real-time status of colleagues’ lines — Phonewire configures these during installation so you don’t need to set them up yourself.
Troubleshooting: Common Issues After Setup
“Unregistered” or “No Service” stays on screen after configuration: The most common cause is a SIP credentials error — double-check the username, password, and SIP server address. The second most common cause is a firewall blocking SIP traffic on UDP port 5060. If you’re on a corporate network with a managed firewall, your IT team may need to allow SIP and RTP traffic.
Phone gets an IP address but won’t register: Confirm the SIP server address is reachable from your network. If you’re using Phonewire’s provisioning, confirm the phone can reach the internet by checking if the browser-based web interface loads when you navigate to the phone’s IP address from a computer on the same network.
Phone was previously used or purchased used: A used Yealink phone may have a previous provider’s provisioning server locked in, which can override your configuration. A factory reset clears this: on most Yealink models, go to Menu → Advanced (password: admin) → Reset to Factory. After the reset, the phone will accept fresh credentials.
One-way audio (you can hear the other party but they can’t hear you, or vice versa): This is almost always a NAT or firewall issue preventing the RTP audio stream from passing correctly. Your VoIP provider’s support team can diagnose this — it’s a network configuration issue, not a phone hardware issue.
Phone works at the office but not at home or a remote location: VoIP phones on remote networks require a VPN or a VoIP provider that supports remote registration correctly. Phonewire’s systems handle remote registration by default — if you’re working with another provider, confirm they support remote SIP endpoints.
Need Your Yealink Phones Activated?
If you bought Yealink phones and need a VoIP service to activate them — Phonewire handles everything. We port your existing number, configure every extension, and the phone works when you pick it up. Free quote, same day.
Get a Free Quote (800) 857-1517 — answered in under 1 min